

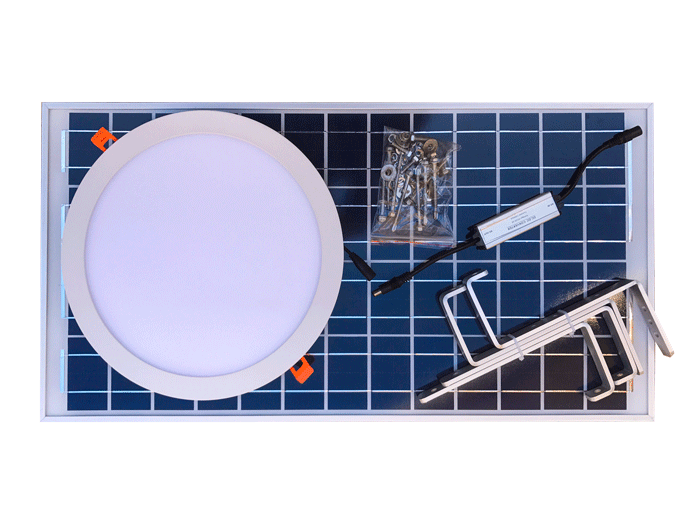
The InnoSolar Skylight cleverly harnesses energy from the sun and efficiently converts this energy for use with a high-performance long-life LED flush-mounted light.
The system is simple! A small PV panel located on your roof connected to a LED surface mounted light in your ceiling via the electrical plug-in cord provided and you have all year round free light to your house whenever the sun shines.

Ideal for kitchens, bathrooms, pantries, ensuites, walk-in robes….the list is endless! Enjoy the energy savings of not switching on a light during daylight hours by installing DayLite. The benefits start immediately.
Features Include:
- Easy and quick Installation – DIY Installation for competent persons
- No potential leaks, insects, or transmitted heat in the Summer months
- Zero running costs – saves electricity
- No connected mains power (except Model SP2018 with AC/DC connection)
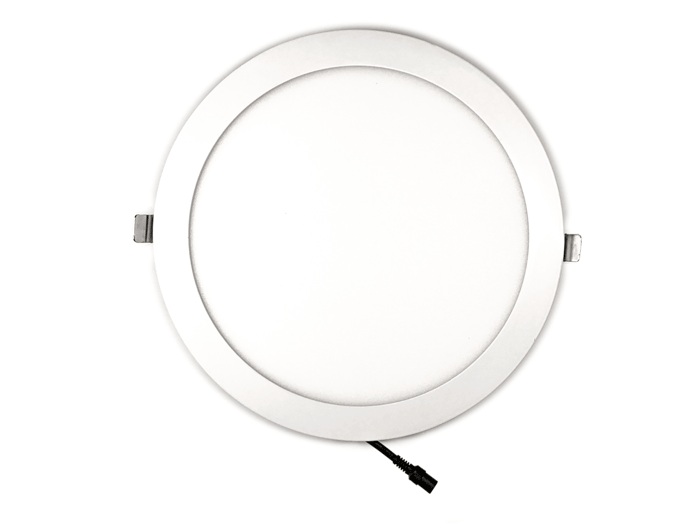
- Long-life LED Light
- Low Voltage DC only so no electrician is required
- Tempered Glass PV Solar Collector
- 9 metres of cable between the collector and LED light.
| Model | Size | Lumens | Suitable For |
|---|---|---|---|
| SE2012 | 300mm Round | 1200 | Laundry, Ensuite, Pantry |
| SE2013 | 300mm Square | 1200 | Laundry, Ensuite, Pantry |
| SE2014 | 300mm x 600mm | 2200 | Hallways and Entrance Foyers |
| SE2016 | 300mm Round | 2200 | Bedroom, Living Rooms, Bathrooms, Dining Room |
Installation
3 simple steps to install your InnoSolar skylight (Note: Full installation Instructions are available on the downloads page. The instructions must be read carefully prior to installation).
- No restrictions where light is located in the house, shed or garage.
- No leaks in the roof, common in conventional sky-lights
- 15W or 25W depending on room size
- Assemble and secure your solar panel on the roof as per the Installation Instructions and drop down the 9 metres of cable in the roof cavity.
- Solar Sky Light (no roof hole needed)
- Cut a hole with a suitable plaster cutting implement using the template provided for you in the LED Light Box. The hole must be located away from roof timber or metal supports and care must be taken to ensure no electrical or data wiring is present in the cut-out area.
- Simply plug the cable into the controller and then into the LED light. The LED light can then be fitted into the plaster ceiling cutout and the installation is complete. The light is flush mounted with the surface of the plasterboard ceiling.